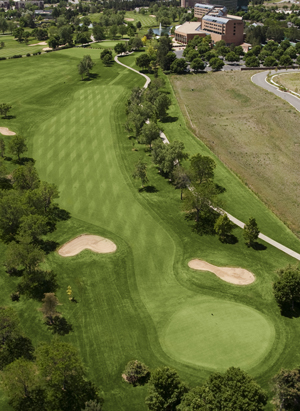
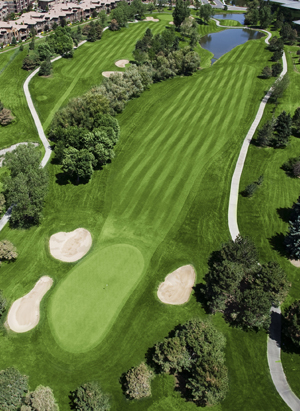
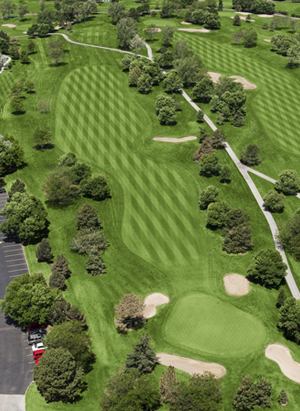
HOLE #1
A shorter par 4 with a bend to the left welcomes you to The Club at Inverness. Keep your tee shot left of the fairway bunker – the further left you go, the longer you can hit it before the fairway runs out.
HOLE #2
Big hitters can reach this par 5 in two if they place their tee shot accurately. Avoid the bunker on the left, but beware of the slope right leading down to trees which will block the approach. The fairway runs out and a small creek crosses the line of play before a generous apron fronting the green.
HOLE #3
A true test of precision with longer irons faces the golfer on this challenging par 3. Carry the water and avoid the surrounding bunkers to find the putting surface. The only safe misses are long right and short left. “Safe” might be too strong a word…
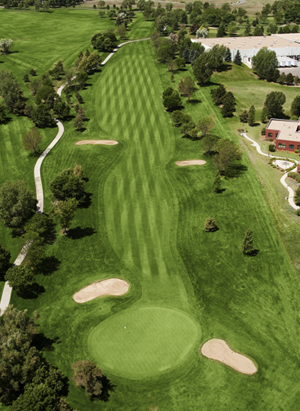
HOLE #4
With the fairway sloping to the right, a tee shot toward the left side will bounce and roll to the center. A well-protected and contoured green awaits beyond the crest of the hill.
HOLE #5
An uphill par 4 that plays significantly longer than the scorecard yardage, culminating in a stern test of green-reading and putting skill.

HOLE #6
Dogleg right par 4 that invites the golfer to hit a bomb from the elevated tee box. Green plays slightly uphill from the fairway, so don’t leave the approach short.
HOLE #7
A long par 4 that can play shorter than the scorecard yardage. Fairway bunkers bracket the target from the tee. A long drive can reach the downhill slope beyond the bunkers, providing a bump toward the green which sits some 50’ below the traps. Subtle breaks await…
HOLE #8
Uphill par 3 invites a draw into a well-protected green with a bit of a false front.

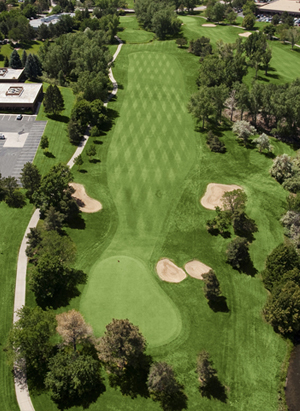
HOLE #9
Tree-lined dogleg right with OB on both sides. Steep-faced greenside bunker challenges the direct approach from the corner.

HOLE #10
Short par 4 that bends slightly left after the landing area framed by fairway bunkers daring you on either side.
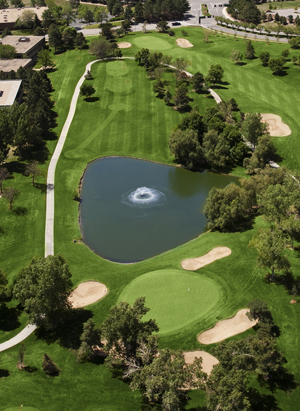
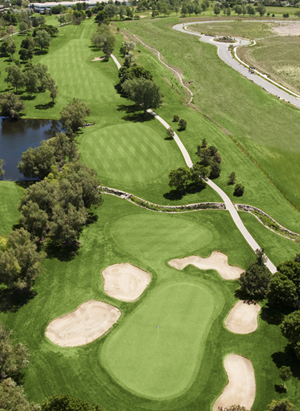
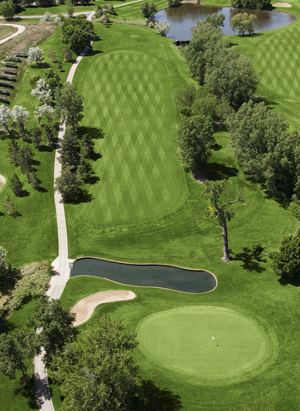
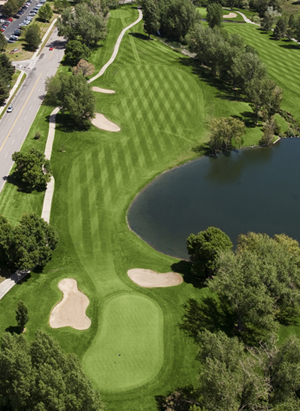
HOLE #11
Par 3 over water to a well-protected green. Shots which land short risk rolling back into the water.
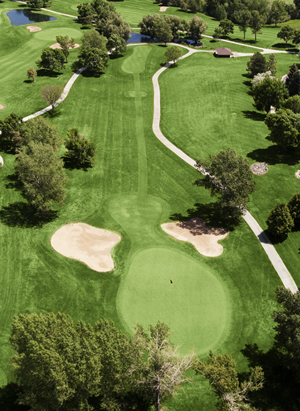
HOLE #12
Avoid the large fairway bunker left and the player is rewarded with a short approach shot to a large green.
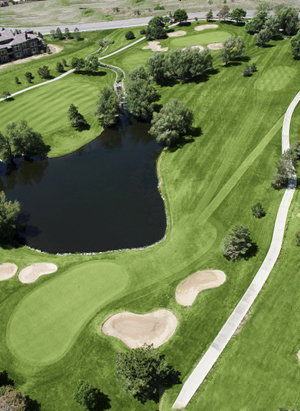
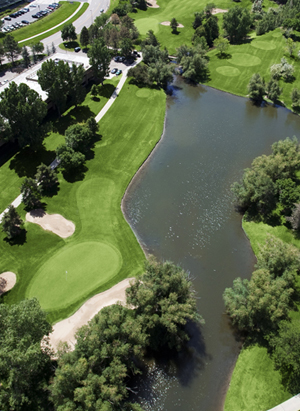
HOLE #13
A tee shot across the water plays to a fairway that angles left. Beware the hidden small pond fronting the wide, shallow green.
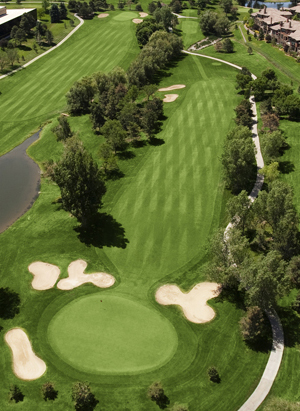
HOLE #14
A generous fairway belies trouble left and right off the tee. Keep your approach below the hole for your best chance at a low score.
HOLE #15
Another par 3 over water. Short is safe. Left, right, or long – not so much.

HOLE #16
Long and narrow par 5 that asks for all you can give your 2nd shot. Deceptive bunker right appears greenside but is actually well short.
HOLE #17
Short and pretty par 4. Avoid the bunkers right – and the street OB! – and beware the reachable water left; the lake comes into the fairway further than you can see from the tee. The tricky contoured green plays slightly uphill from the fairway.

HOLE #18
A series of fairway bunkers protect the left corner of this long, uphill slight dogleg left par 4. Carry the bunkers fronting the green try to stay below the pin on your approach.